IBH Link IoT:Startup operations
Contents
Mounting and Connection
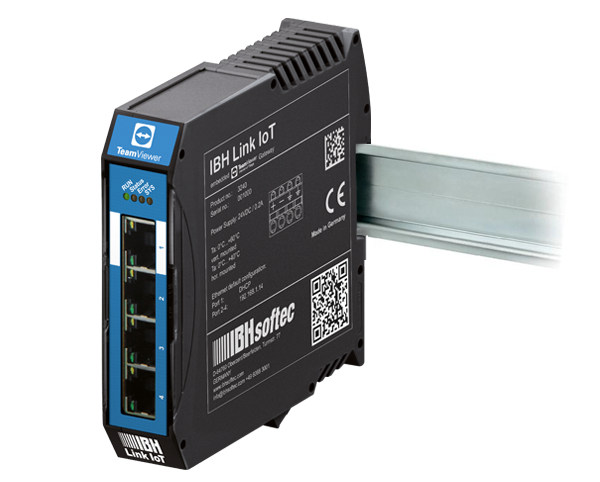
The IBH Link IoT is designed for DIN rail mount:
ATTENTION!
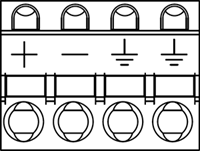
The IBH Link IoT requires a 12 - 36V DC power supply. Higher voltages may destroy the device. Pay attention to polarity.
Power supply: 24VDC / 0,2A
Configuration of the IP addresses
The administration can be made with a recent web browser over the Ethernet port 1 by using the host name http://ibhlink-iot_<serial number> (f.i. http://ibhlink-iot_000161)
or over the ports 2-4 by entering the default IP Address 192.168.1.14
On the PC the IBHNet-Iot driver is required. The Driver is available free of charge.
Default IP Address configuration:
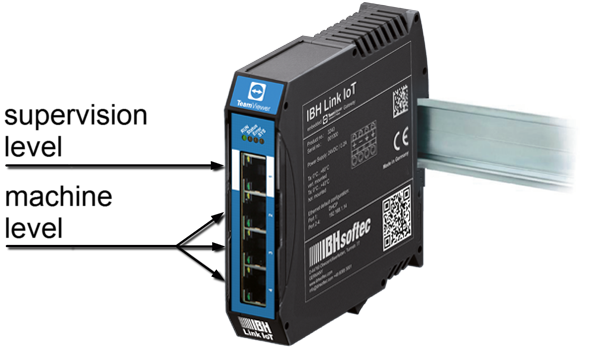
| Level | Port | Address |
|---|---|---|
| Management level | Port 1 | Host name: ibhlink-iot_<serial number> |
| Control level | Port 2 - 4 | 192.168.1.14 |
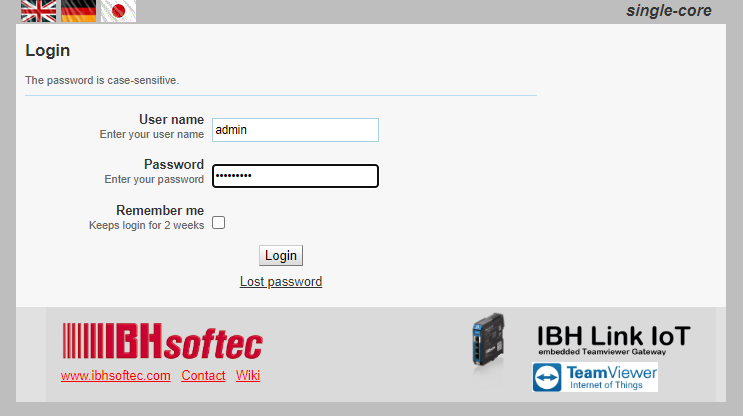
Default Login:
admin
admin
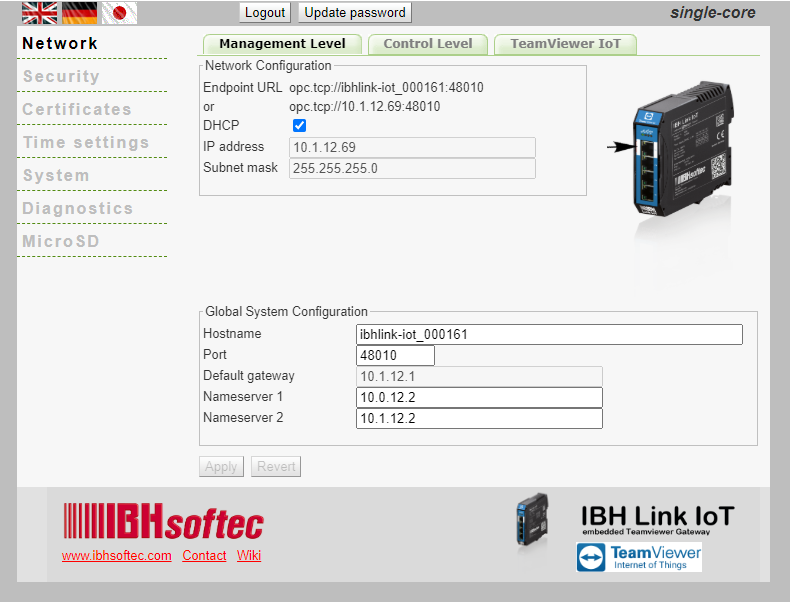
Network: Management Level
Network configuration for Port 1 (Management level respectively Supervision Level):
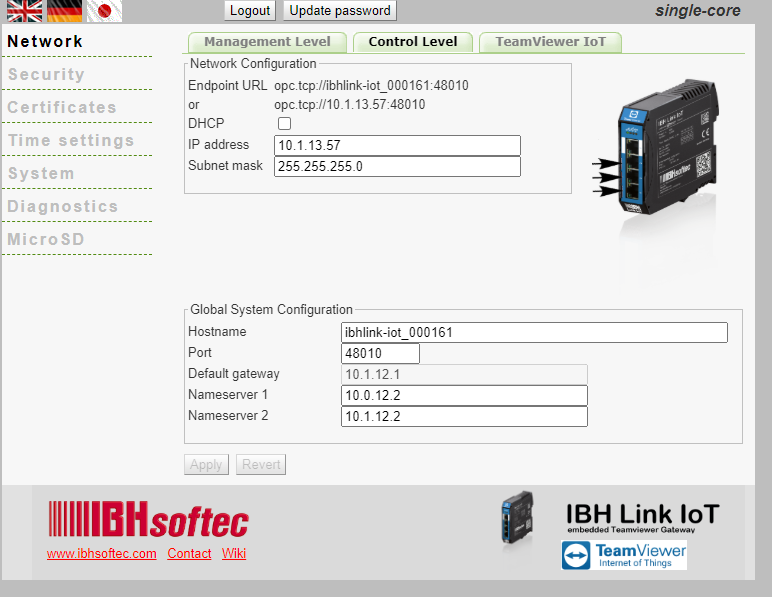
Network: Control Level
Network configuration for Port 2 - 4 (Control Level respectively Machine Level):
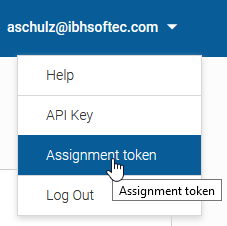
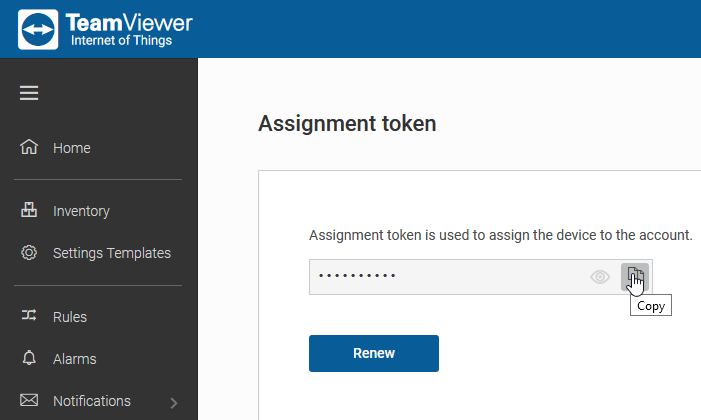
Assigment Token
After logging into the TeamViewer IoT Management Console the Assigment Token can be copied:
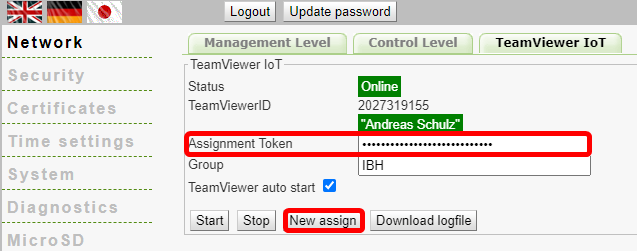
The token must be copied into the 'Assigment Token field and assigned:
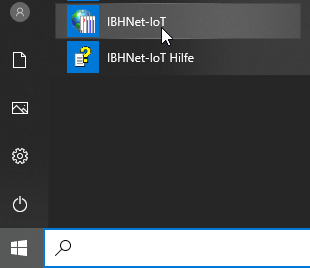
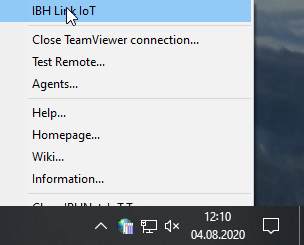
IBH Net IoT Tray
The required IBH Link IoT driver is available free of charge on our homepage: IBH Link IoT Driver
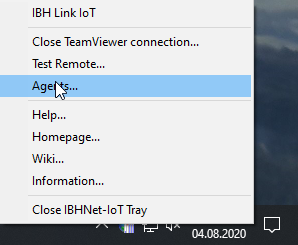
Agents
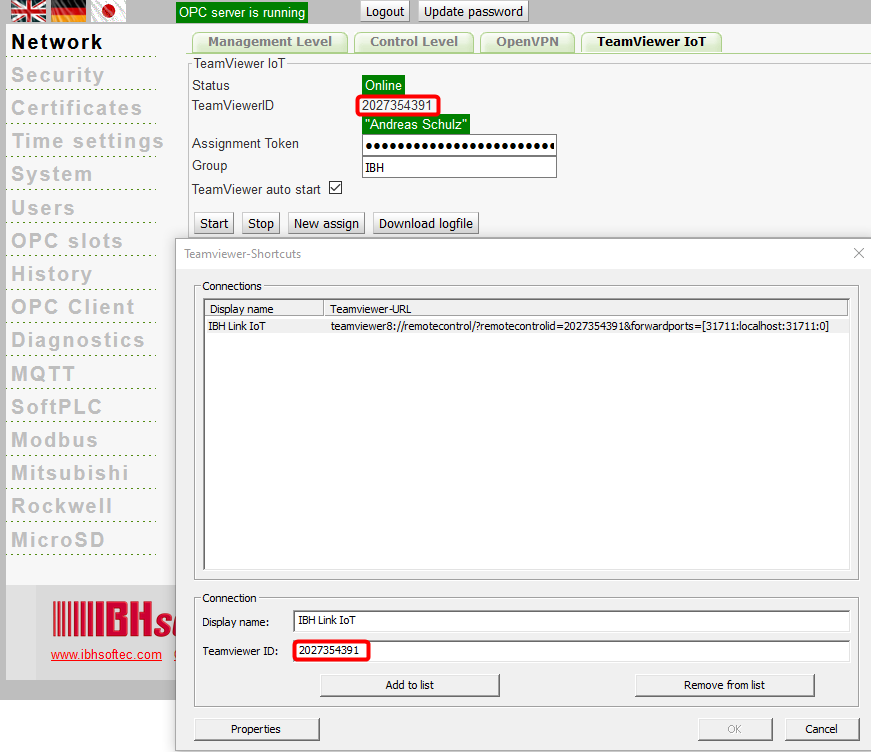
With the menu item Agents the TeamViewer connections to the IBH Link IoT can be created:
The display name can be freely chosen. The TeamViewer ID to be used for each device can be seen in the web interface:
Connection setup
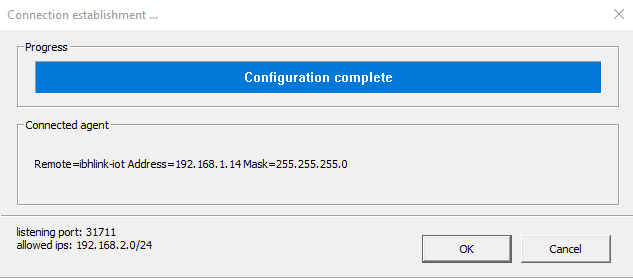
Via the IBH Link IoT Tray the connection can now be established:
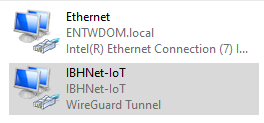
After successful connection establishment, the IBH Link IoT appears as WireGuard tunnel in the Network Adapters:
From now on, all controls that are connected via the control level of the IBH Link IoT are accessible via TeamViewer.
